

I love T-shirts. I’ve always loved the idea of emblazoning my passions on my body, of signalling to the world who I am, via my interests. And printed T-shirts are a fast, effective, and comfortable way of doing so.
Throughout my life, I’ve collected T-shirts featuring my favourite bands, gags, characters, and slogans. And though my body has changed over the years, and many of these no longer fit, it’s hard to throw away these items that have so many memories attached. I piled them in the back of my closet. “I’ll do something with these someday,” I thought wistfully every time I saw them.
Eventually, an idea came to me: I could stitch the T-shirts into a quilt! I’d never made a quilt before, but that didn’t stop me, and I hit the internet for inspiration. I found several tutorials and photographs to base my design on.
Making the quilt
The layout
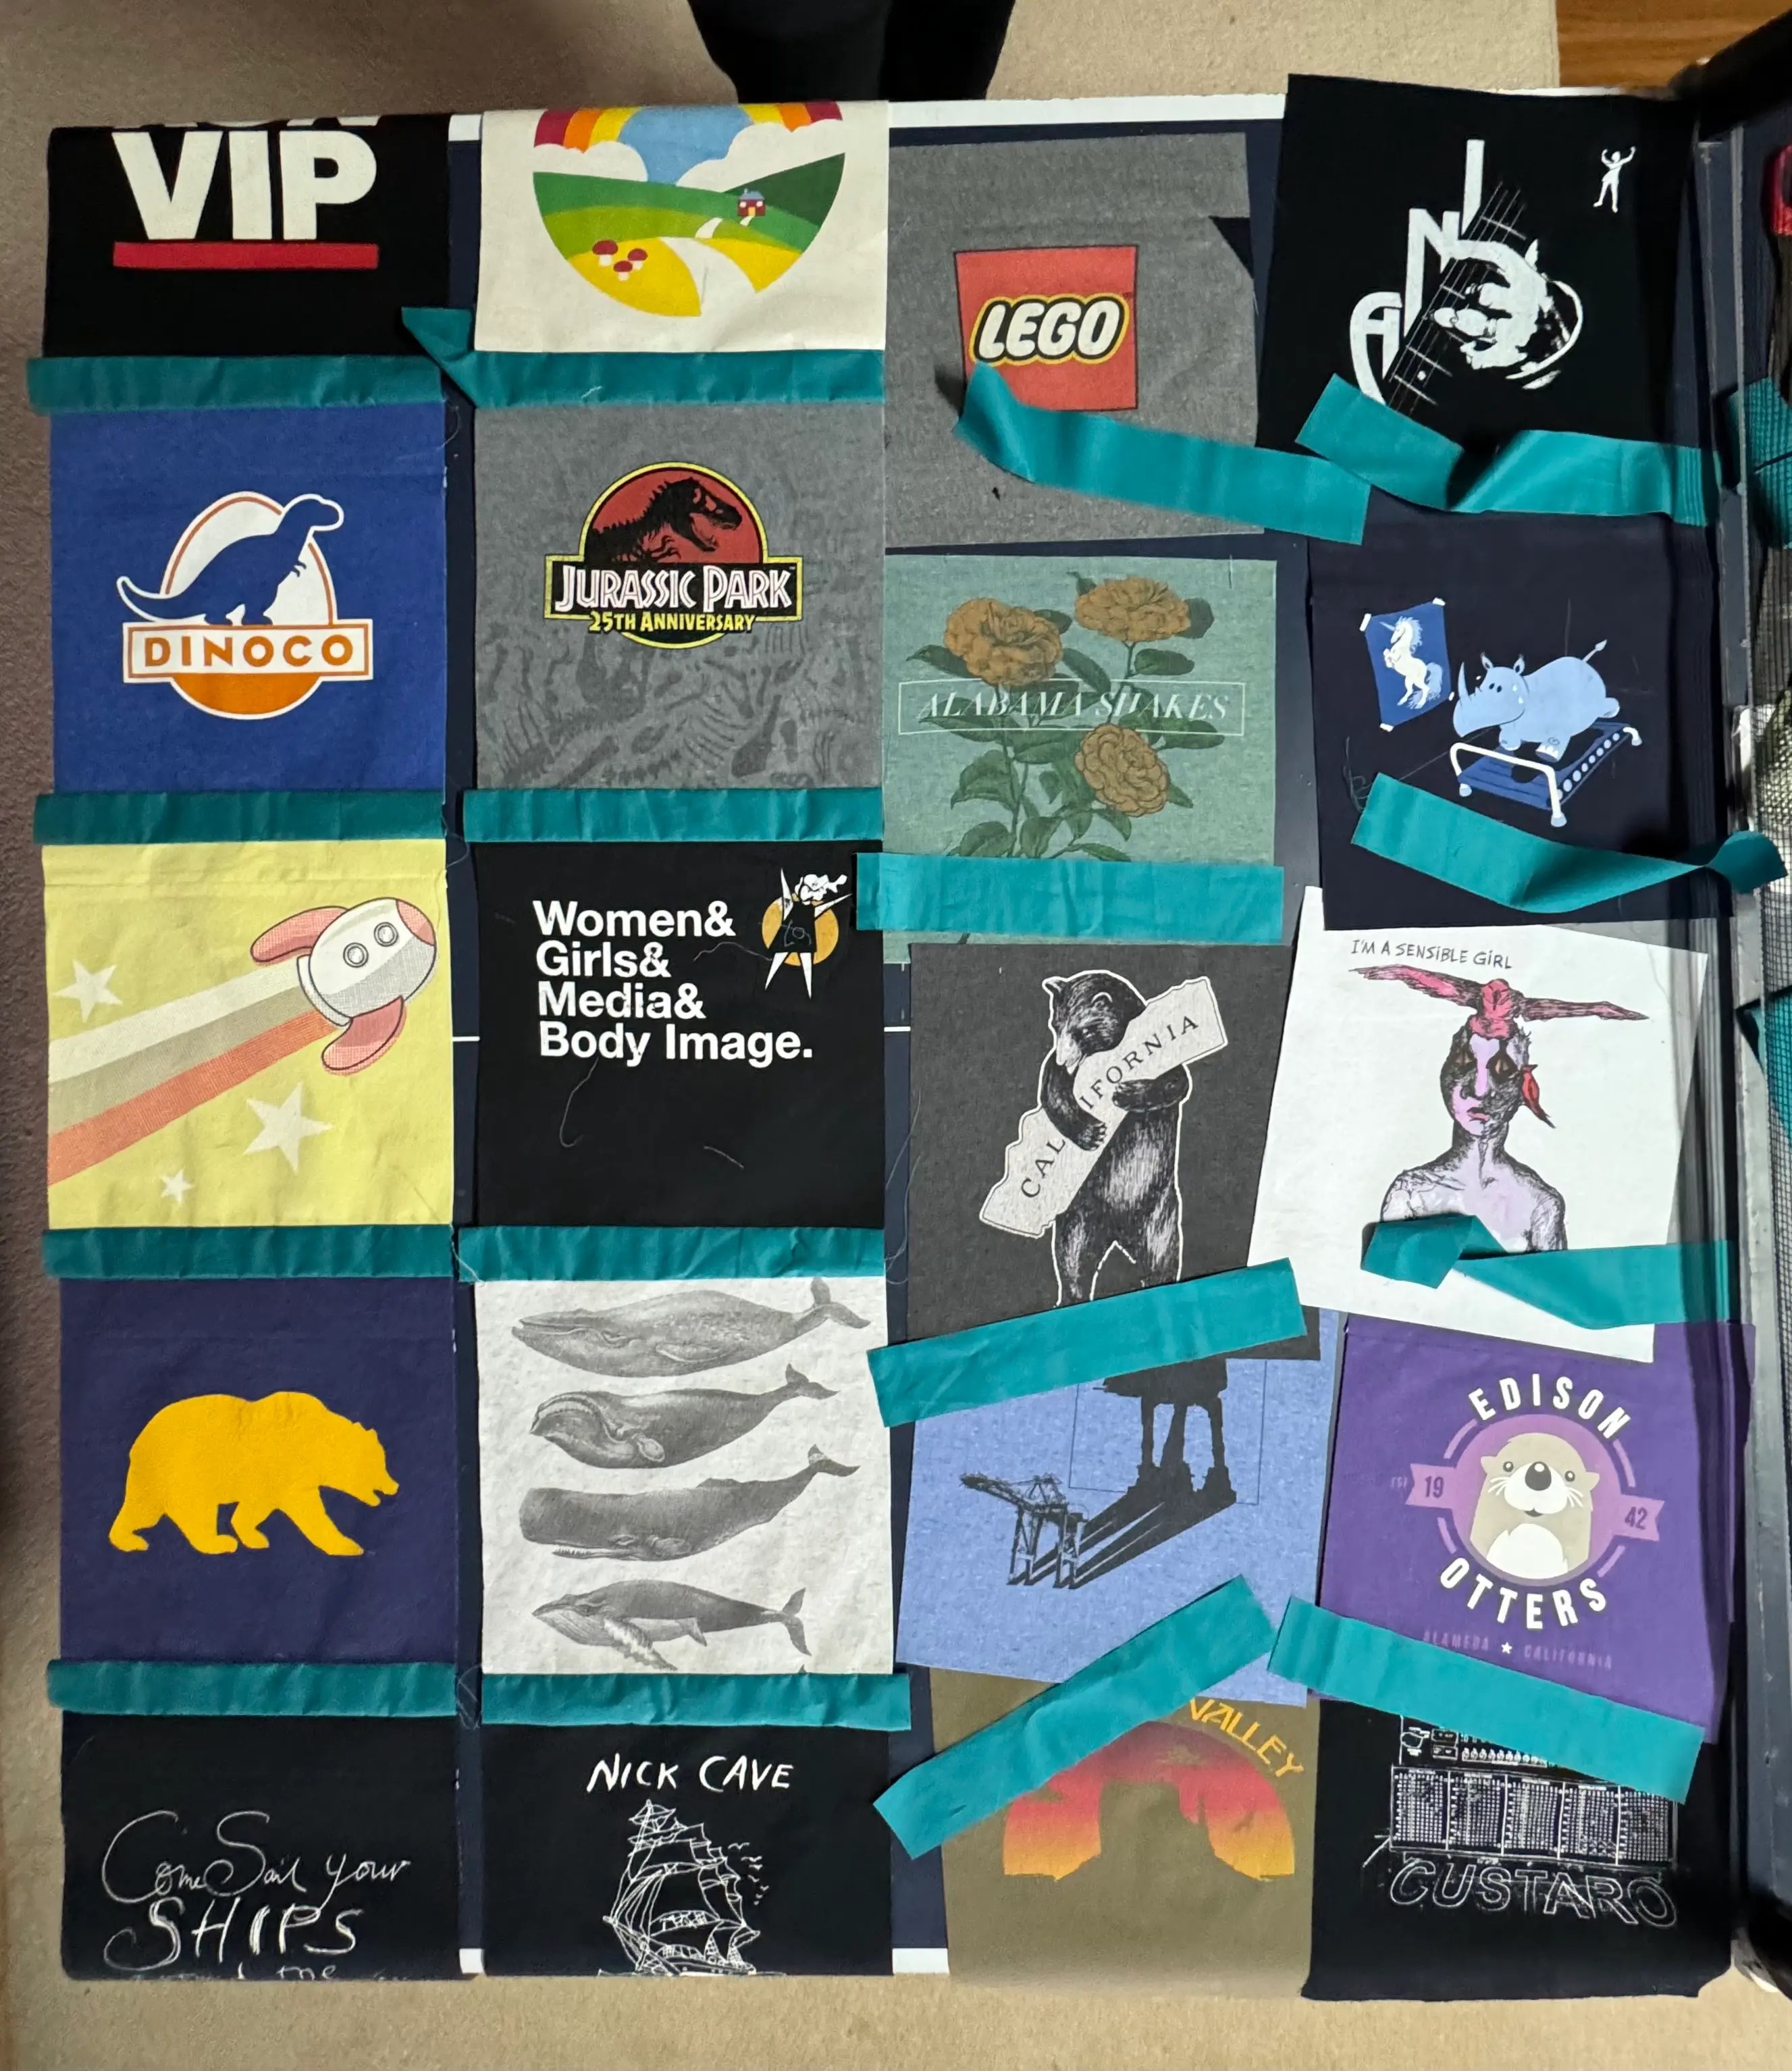
First, I wanted to cut all the T-shirts to a uniform size, so I measured and took a photo of each T-shirt. That way, I could base the size on the one with the largest design. Also, having the photos would allow me to digitally lay out the quilt.

Cutting and prepping
Once I figured out the size, I cut each T-shirt, making sure to keep them as large as possible so I’d have plenty to work with. After cutting, I ironed interfacing onto the back of each one. This not only gives extra thickness to the pieces, but also stabilises the T-shirt material so it doesn’t stretch while trying to sew it.


Sewing it all together
The next job was to cut each T-shirt to the same standardised size, using a quilting ruler and rotary cutter. I also cut out strips of a teal fabric that I wanted to use between each square, to help give the quilt a more cohesive design. Then, I sewed all the squares and strips together, eventually ending up with a large rectangle grid of T-shirts. I ironed all the seams flat, and the quilt was ready for finishing.


Finishing
My mum suggested that, rather than try to finish the quilt myself on a regular sewing machine, I should take it to a quilt maker with a long arm machine. The “quilting” is where the quilt top, batting (padding), and backing fabric are sandwiched and sewn together, usually with a design. Since I was already sick of the project, and this would be a huge amount of work, I was happy for a professional to finish it off for me.
I found a local quilt maker, and took my quilt top, batting, and backing fabric to her. We discussed designs, and then I left it with her to sew the “sandwich” of top, batting, and backing together using a floral stitch. She also used the backing fabric to create the edging on the quilt.


Once it was all done, I admired it, then put it back away in the closet. My T-shirt memories are safe.
Leave a Reply