

Mini-zines are zines that are printed on A4 (or US Letter, bleh) paper, then folded and cut in a specific way to create an 8-page booklet. Here’s how to turn your piece of paper into a beautiful mini-zine, ready to share.
First, a video of the entire process. Underneath, you’ll find all the steps written out.
Step 1: Gather materials
For cutting and folding mini-zines, I use:
- Cutting mat
- Craft knife
- Bone folder
- Pencil
- Metal ruler
You don’t need all of these — it’s possible to get by with just a pair of scissors. These just make things easier.

Step 2: Fold the paper
Make four folds in the paper, as such:
- Fold in half lengthwise
- Fold in half widthwise
- Fold one end into the middle
- Fold the other end into the middle
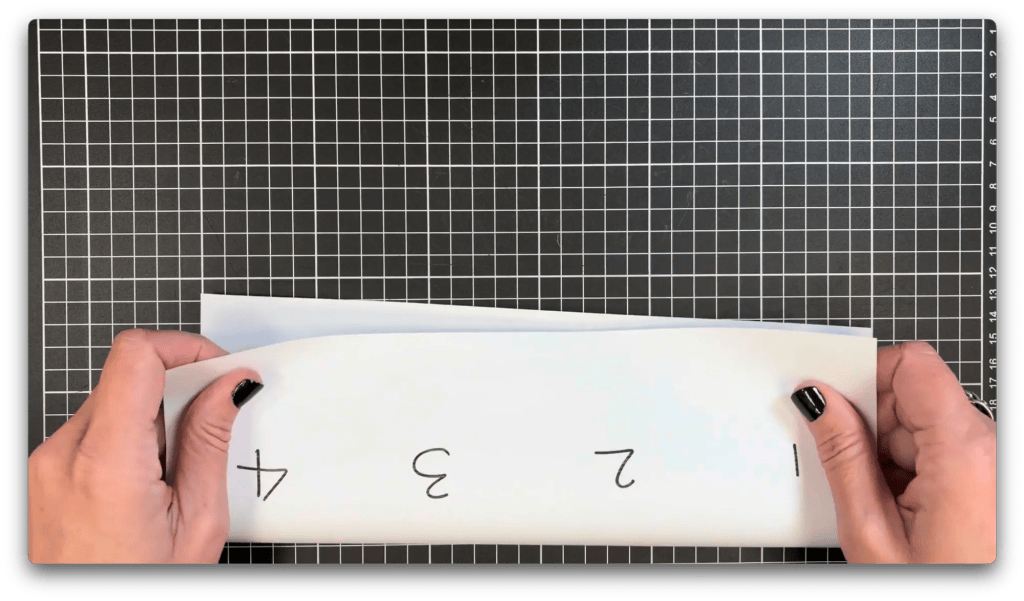

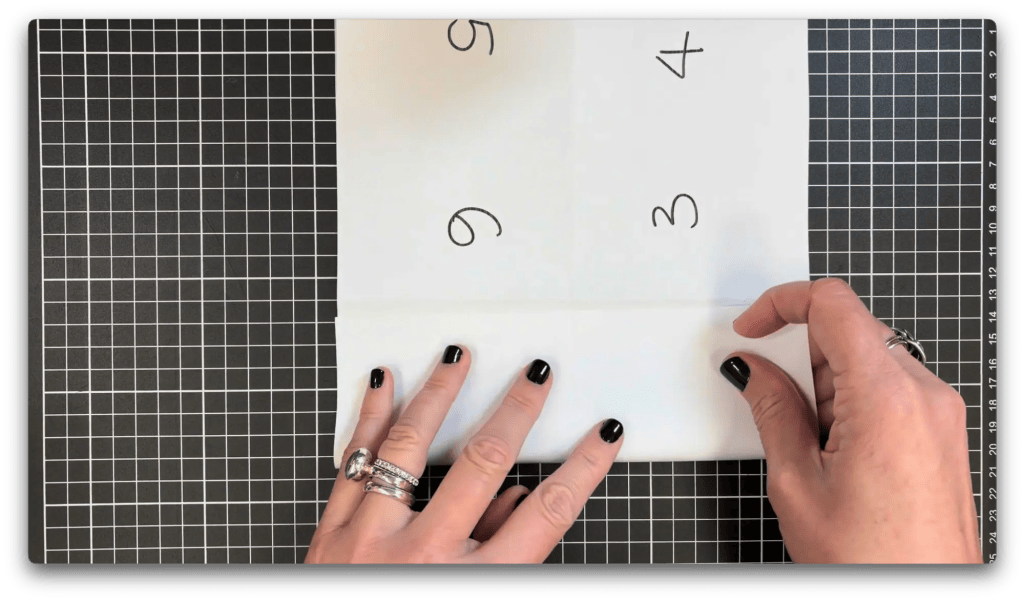
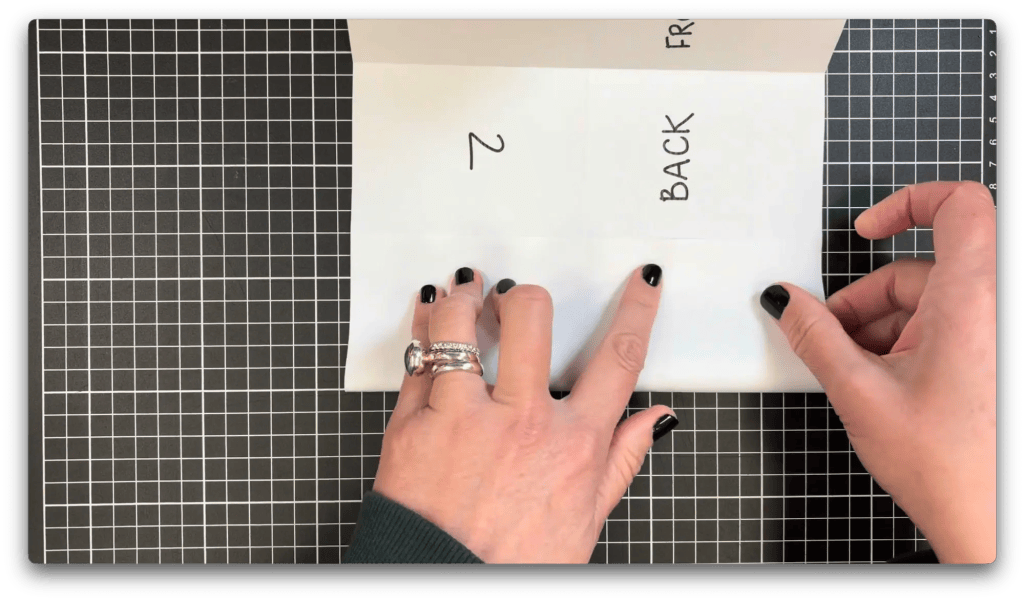
Step 3: Cut
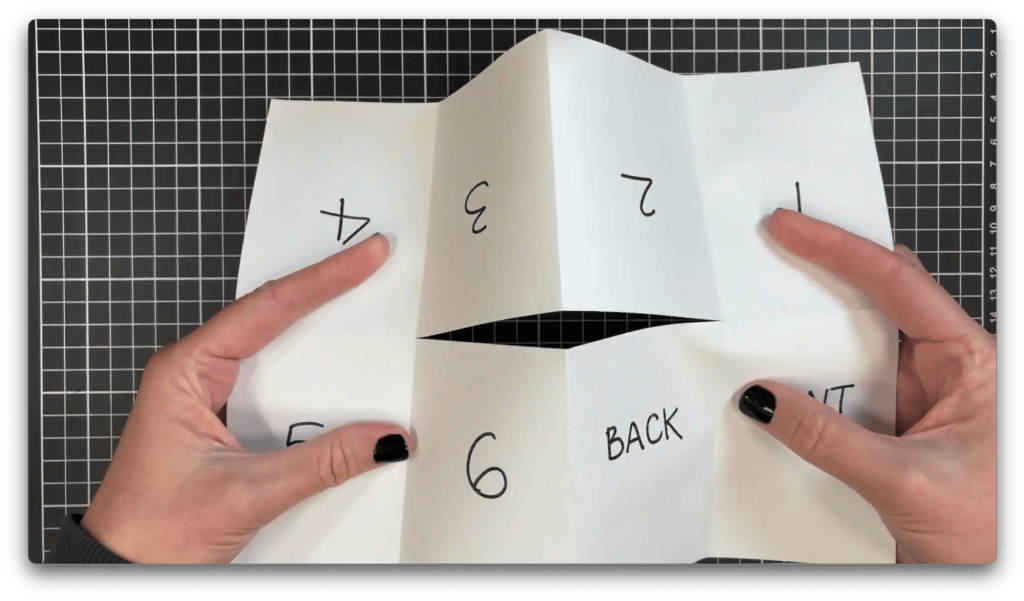
Use a pencil to mark small dots on each point, then use the metal ruler and craft knife to cut between them. Alternatively, fold the paper in half widthwise, and use scissors to cut along the fold halfway to the end.

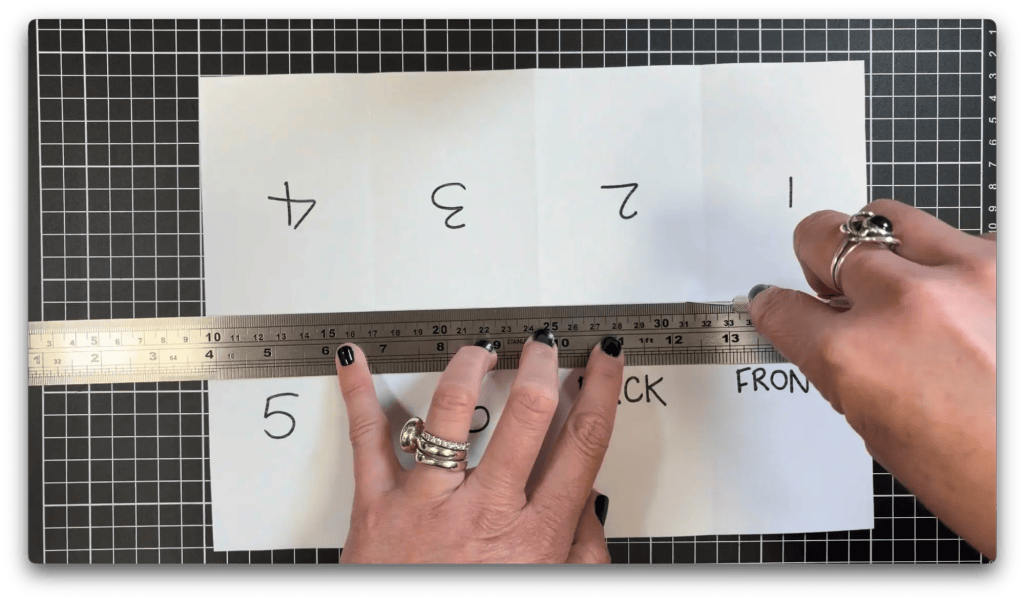
Step 4: Fold together
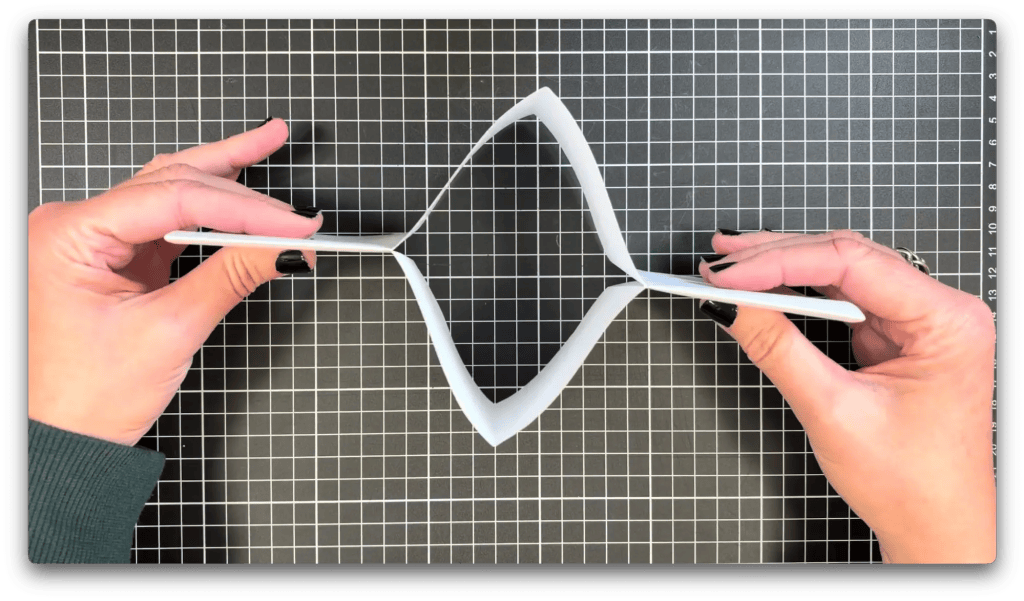
Fold in half lengthwise again, then hold at either end and push your hands towards each other. The centre should bend outwards in either direction.
Keep pushing until the pages meet, then fold over so the front and back covers are on the outside.

Step 5: Crease
Run the bone folder firmly along each edge, to make the folds nice and crisp. If you don’t have a bone folder, you can use the edge of a credit card, a fingernail, or another hard object.
